DIY popcorn ceiling repair should be done with lots of patience and never rushed. Otherwise you may ruin the entire look of your ceiling. The steps you should take are as follows.
- Mask off work area.
- Remove and repair damaged sections.
- Spray with appropriate texture
In order to properly mask off your ceiling you will need the following tools.
- 1.4 mil plastic
- Utility knife
- Staple gun and staples
- Masking tape
Your first step is to lay a piece of plastic large enough to cover the work area on the ground to ensure that popcorn and other material stays on the plastic and not on the floor. Cut the plastic to the proper length needed and secure it with the masking tape on the floor. This applies to the carpet as well. Be sure to press the tape firmly down to the work area.
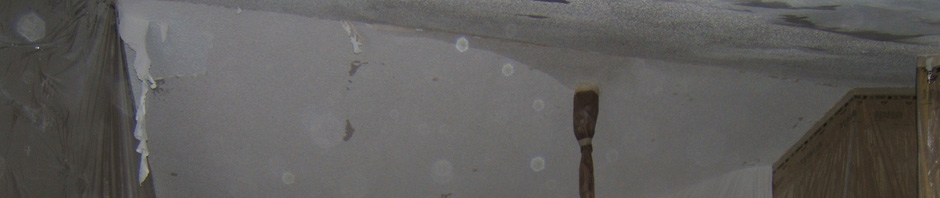
Now we will create a bubble on the ceiling so the popcorn has a confined area to fall in so it will reduce the mess. With the plastic still inside of the box, pull out enough so you have one side of the plastic visible so you can staple to the ceiling. Carefully pulling out each section staple the plastic to the ceiling were needed so it is secured to the point were nothing can get past the plastic at the top. Popcorn spray can come out very fast and can make a big mess if this is not properly masked. An easy trick is to roll the plastic a little at the top to create a better seal. Drape the plastic down to the ground so it is flush with the plastic on the flooring.
Now we scrape the popcorn from the area that needs to be repaired, or if the drywall needs replacing, we will take that down first. Remember you may have insulation that comes down and possibly need replacing as well. The following tools will be necessary.
- 6″, 10″, and 12″ taping knife. and yes all are necessary to achieve a professional look.
- 5 min, 20 min, 45 min, or 90 min quickset joint compound depending on how big the project is and how fast you can work, or regular joint compound.
- Joint tape: fiberglass mesh or regular. Use only quickset mud with the fiberglass mesh.
Depending on the joint tape you are using, you will want to follow proper procedure for the first coat of mud using the correct taping knife size. Please note that using fiberglass tape will result in one less coat of mud application. Applying the mud properly is the most important part of the whole process aside from the texture spray.
The idea is to put the first coat on and feather out the edges so there is no raised portions of mud. This means a perfectly flat transition from ceiling board to repair. This is the portion of the repair that is done incorrectly most of the time with DIY repair. The homeowner usually thinks his first coat looks “good enough” when it really does not. This is a learned skill and usually a lot of sand paper gets used when it isn’t even necessary.
Using a 6″ drywall finishing knife, remove the popcorn that is getting re textured until it stops falling off the ceiling. Sometimes this can take a while and your repair area may have just gotten alot large than what it originally was due to age of the popcorn. A useful trick is to be gentle with the popcorn and use some quick set mud around the edges of popcorn that may fall down to prevent a bigger problem.
Once your repair is completed, it is time to find the right type of popcorn that may possibly match your ceiling. You may have to search high and low for this. Carry a sample with you when you go to match it as there are all sorts of types of popcorn spray. For best results you will need a hopper and a good air compressor. The cans of texture are not always the best for professional results. The best places to find popcorn are at local supply yards. Occasionally, big stores like Home Depot or Lowes will have them as well.

Trust me, living in a rabvint city such as Calgary one would hope homebuilders would give customers more options for wall and especially ceiling finishes. The pain of trying to remove the popcorn is both messy and time consuming. The homebuilders consider having to properly tape, mud and paint a ceiling a massive upcharge. in the states especially the more humid locations properly use trowelled on lime-based plasters both for the beautiful amazing looks as well as the high acidity in the lime promotes less issues with mould. not only that but refinishing lime-based plasters throughout the years gives a rich character all its own i think higher standards in building products will force out the standardized use of popcorn ceilings. its just easy cheap and fast in our cookie-cutter style homes they like the assembly line and lack of creativity more houses builr in less time equals CHA-CHING.